Deploying Istio Service Mesh on Amazon EKS: A Practical Guide
Microservices architecture makes it easier to scale and evolve applications, but it also introduces new challenges such as inter-service security, visibility, and traffic management. That's where Istio, one of the most widely adopted service meshes, comes in.
In this guide, you'll learn how to deploy Istio on Amazon EKS, enable observability, secure services with mTLS, and perform traffic shifting—all through hands-on steps.
What Istio Does (and Why It Matters)
Istio sits between your services and manages communication automatically using lightweight Envoy sidecars. With Istio, you get:
- Intelligent traffic control
- Mutual TLS (mTLS) and zero-trust security
- Built-in telemetry and tracing
- Resilience, retries, and circuit-breaking
You gain all of this without changing application code.
Prerequisites
You'll need:
- An AWS account
awsclikubectleksctlistioctl
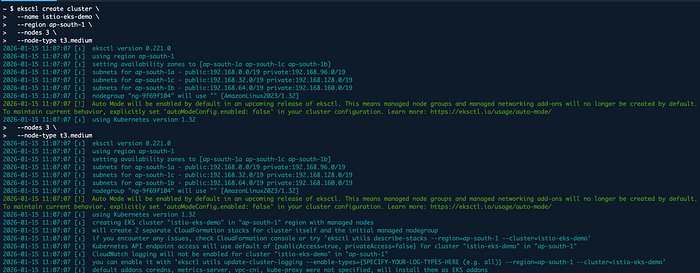
Step 1: Create EKS Cluster
First, let's create our Kubernetes cluster using eksctl.
eksctl create cluster --name istio-eks-demo --region us-east-1 --nodegroup-name standard-workers --node-type t3.medium --nodes 3
Once the cluster is ready (it may take 15-20 minutes), verify the connection:
kubectl get nodes
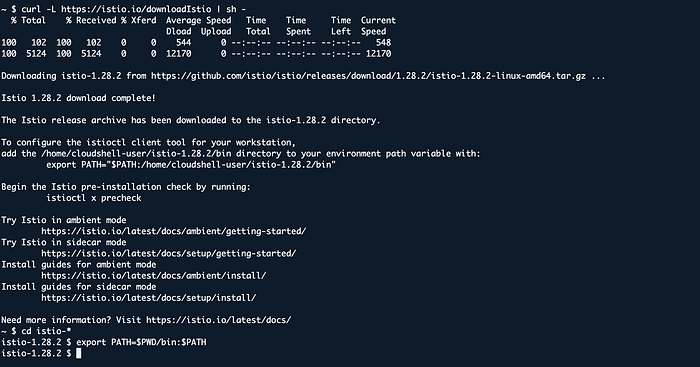
Step 2: Install Istio
Download and install the latest Istio release:
curl -L https://istio.io/downloadIstio | sh -
cd istio-*
export PATH=$PWD/bin:$PATH
Now install Istio on the cluster with the demo profile, which is suitable for testing and demonstration purposes.
istioctl install --set profile=demo -y

Verify the installation:
kubectl get pods -n istio-system
Step 3: Enable Automatic Sidecar Injection
For Istio to work, an Envoy proxy (sidecar) must be injected alongside each service. To automate this, label the default namespace:
kubectl label namespace default istio-injection=enabled

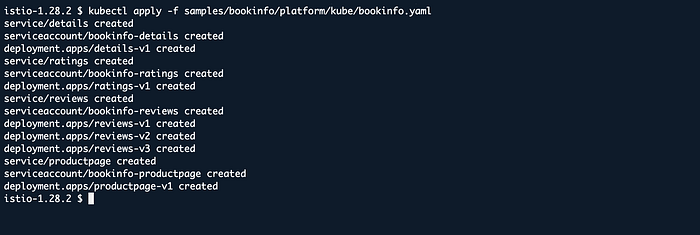
Step 4: Deploy Sample Application (Bookinfo)
We will use the classic Bookinfo application to test Istio's features.
kubectl apply -f samples/bookinfo/platform/kube/bookinfo.yaml
Verify that pods and services are running:
kubectl get pods
kubectl get services

Step 5: Expose the Application (Gateway)
To access the application externally, we need to create an Istio Gateway.
kubectl apply -f samples/bookinfo/networking/bookinfo-gateway.yaml
Get the Gateway IP address or DNS name:
kubectl get svc istio-ingressgateway -n istio-system

Navigate to this address in your browser with /productpage. You should see the Bookinfo application.
Step 6: Observability (Kiali and Grafana)
One of Istio's strongest features is the visibility it provides. You can open the Kiali dashboard to see the service map.
First, install the addons:
kubectl apply -f samples/addons
Then open the Kiali dashboard:
istioctl dashboard kiali
In the Traffic Graph tab, you can visualize the communication between services.

Step 7: Traffic Management and Canary Deployment
You can split traffic between different versions with Istio. For example, let's route 80% of traffic to v1 and 20% to v2.
First, create destination rules:
kubectl apply -f samples/bookinfo/networking/destination-rule-all.yaml
Then apply the VirtualService definition:
apiVersion: networking.istio.io/v1alpha3
kind: VirtualService
metadata:
  name: reviews
spec:
  hosts:
  - reviews
  http:
  - route:
    - destination:
        host: reviews
        subset: v1
      weight: 80
    - destination:
        host: reviews
        subset: v2
      weight: 20
This configuration is critical for DevOps processes like Canary deployments.
Conclusion
In this guide, we successfully deployed Istio Service Mesh on Amazon EKS, deployed a sample application, and explored basic traffic management features. Istio is a powerful tool for managing complex microservice architectures and runs seamlessly on AWS.